
Calendly is a gem in a coal mine for busy people looking to schedule meetings, book appointments, and keep their loaded schedule on track. Scheduling meetings or appointments can oftentimes be difficult, as people have contrasting schedules and live in different time zones. Instead of sending dozens of emails before you set up a meeting, Calendly makes it easy on website users to schedule meetings using one simple link. Invitees can only pick from time slots based on the calendar that you have created and sent to them. Calendly gives you total control when it comes to scheduling. It connects to all of your online calendars so you will never miss a meeting.
Imagine how much easier your life would be if you could integrate this software into your WordPress website! Technology these days, right? Well, say goodbye to the days of sending multiple emails, waiting days to schedule a good time to meet or giving up completely because your schedules just do not work. You can most definitely integrate Calendly into WordPress!
This functionality is handy to have on your website, as it allows your customers to easily schedule meeting times with you based on what you have available on your schedule. There is not a Calendly plugin for WordPress, which means you will have to create one yourself.
Thankfully, it is a simple process.
To get started, either login to your account or create an account with Calendly.
- After you login or create an account, you will see your events on the main page. Click on the gear icon on the event that you’d like to embed into WordPress.
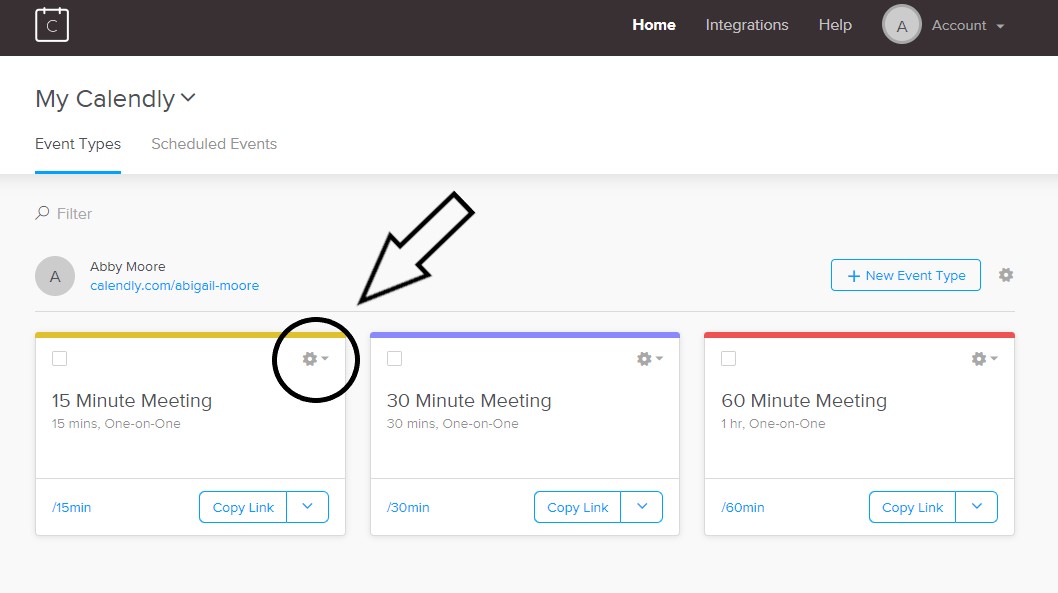
- On the dropdown menu, click Add to Website.

- After you click Add to Website, Three options will be available to you.
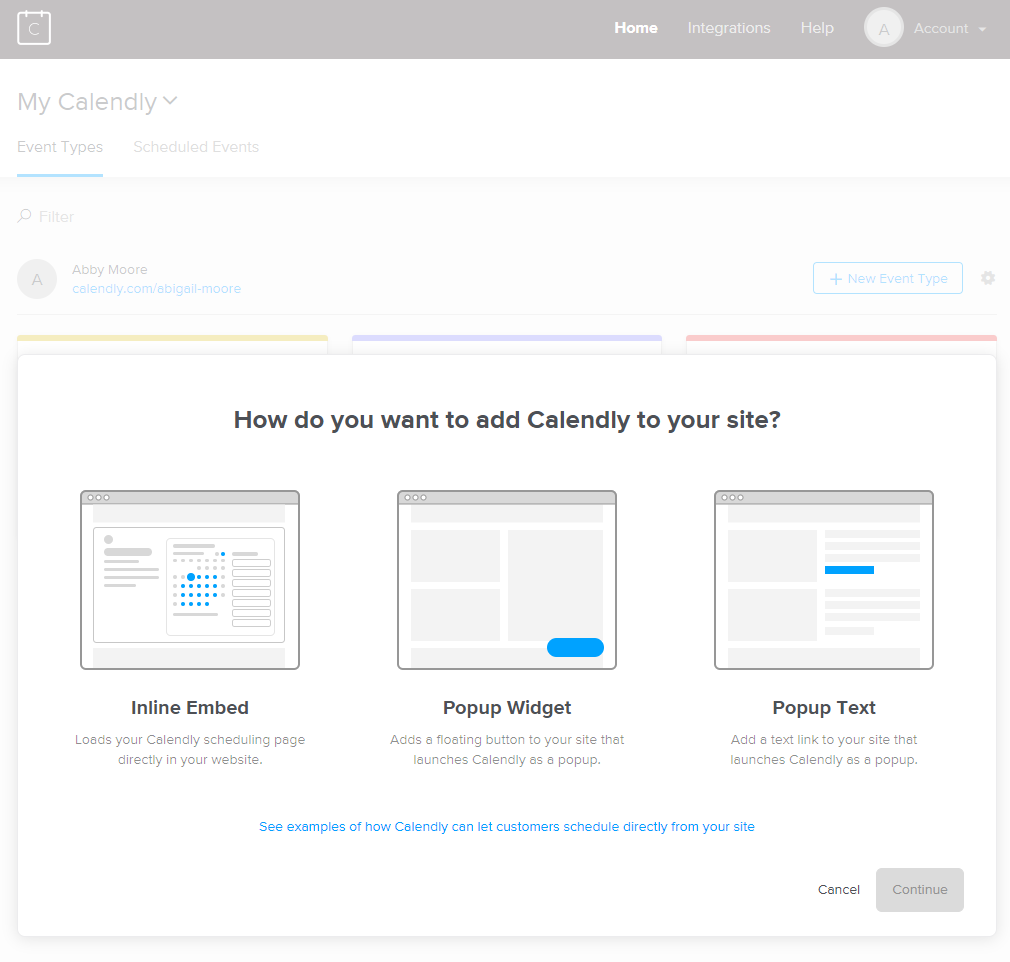
As you can see, you have the option to choose Inline Embed, Popup Widget and Popup Text.
- Inline Embed allows its users to load the Calendly scheduling page directly onto their website.
- The Popup Widget adds a floating button to your site that launches Calendly as a Popup.
- Popup Text adds a text link into your site that launches Calendly as a Popup.
- Click on the option that you want and press continue
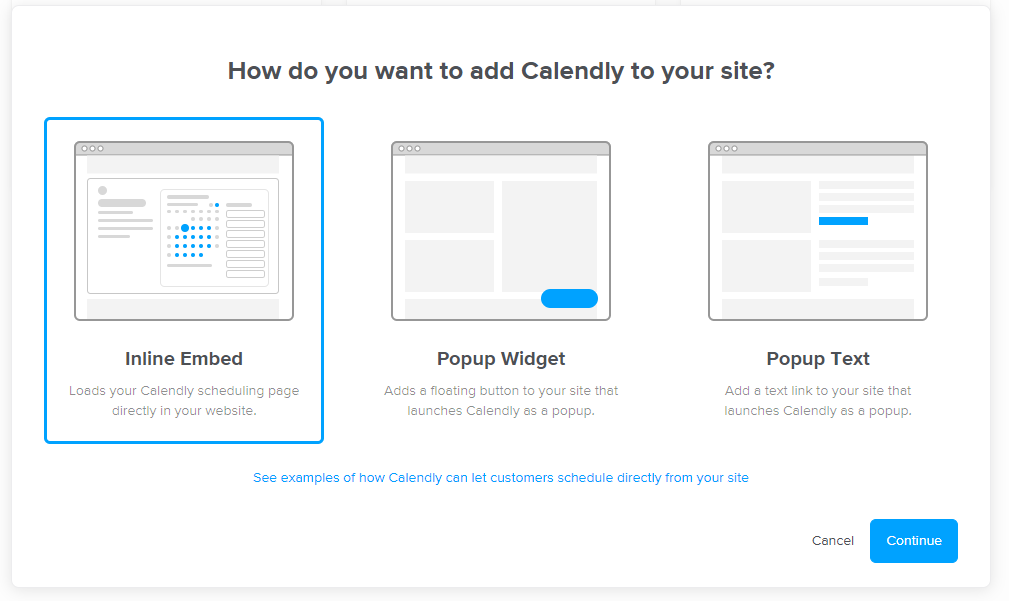
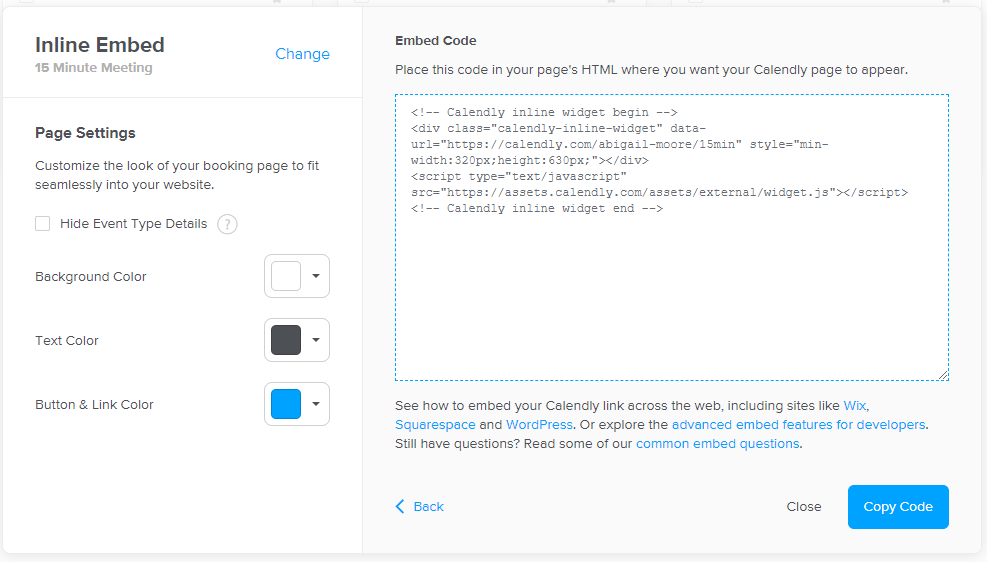
- As you can see, I clicked Inline Embed. It took me to this page that shows my Embed Code. On the left-hand side, you can customize the background color, the text color and the button and link color. On the bottom right-hand corner, click Copy Code. You can also keep this tab open just in case.
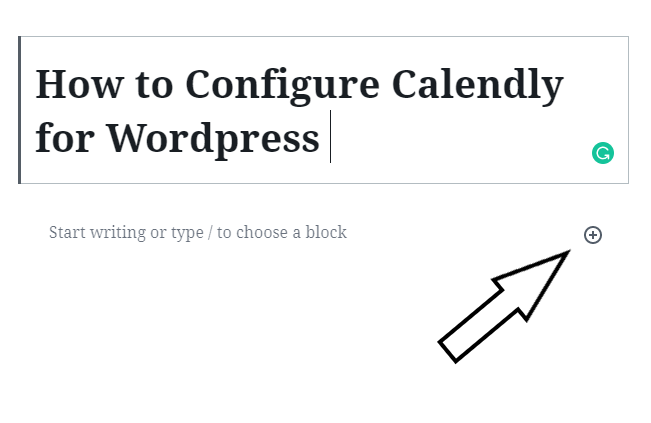
- Open a new tab on your browser and got to your WordPress website. You can embed Calendly onto any individual post or page. All you need to do is press the circled plus sign to add a new block to your page.
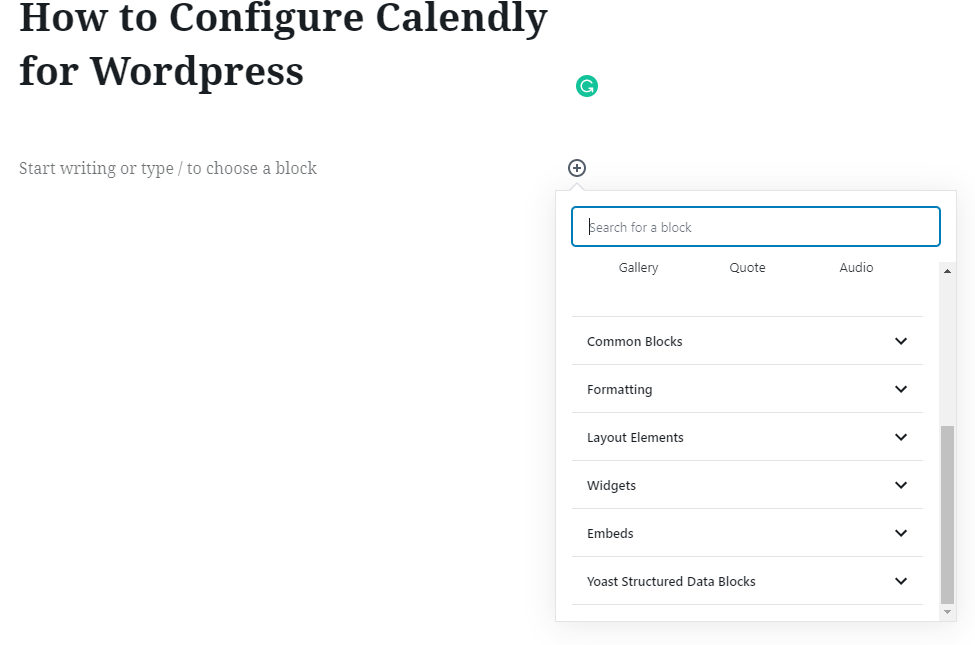
- Scroll down through the options and find formatting.
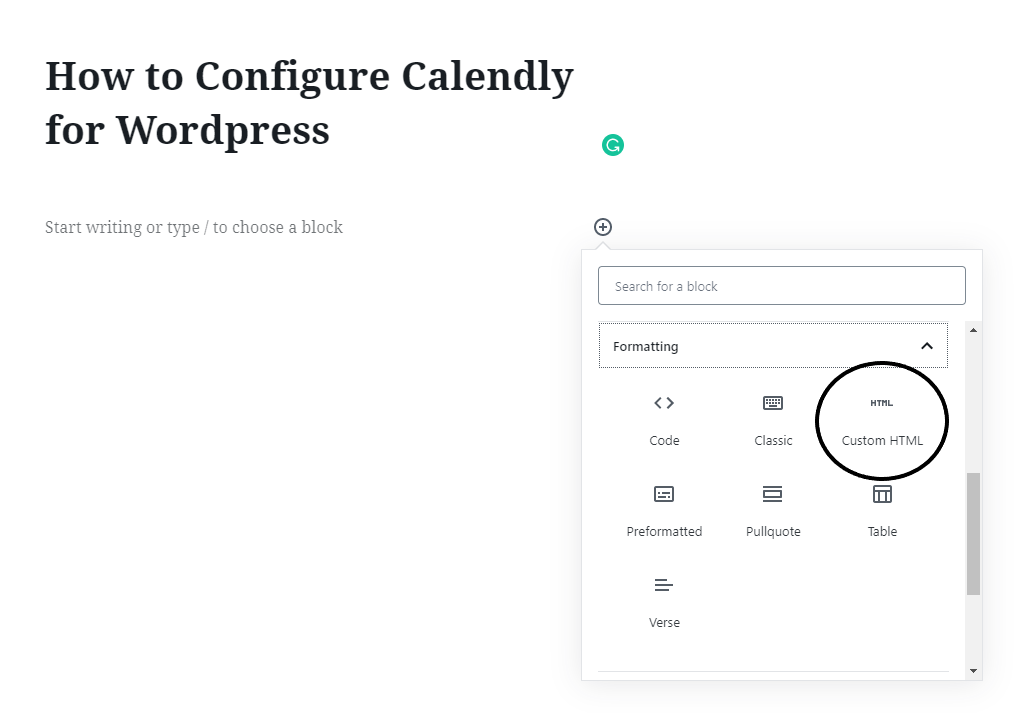
- Click on Formatting and Click Custom HTML
- Paste the Embed Code into the HTML Text box
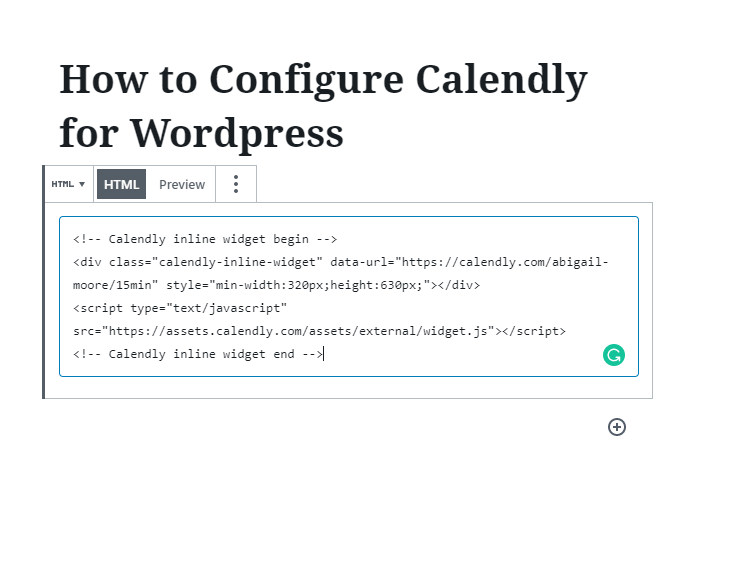
- Right next to the HTML tab at the top is Preview. Click preview to see Calendly embed in WordPress
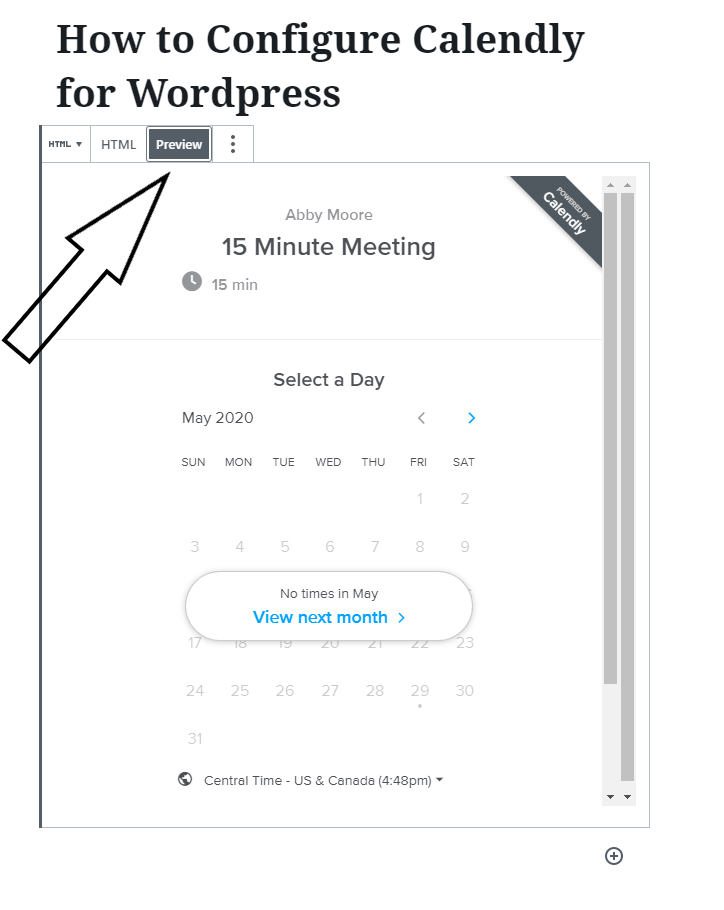
If you like the way that looks, press save draft in the corner. If you would like to embed Calendly onto your site as a Popup widget or Popup text, then go back, choose your desired option and follow through the same process. See how easy that was?
By using this simple tool you can schedule meetings, book appointments, keep it all organized and maintain your sanity!
What are you waiting for? Go add it to your website!